Asset Parameter Nodes
The Asset Parameter node is the connection between the Asset Library and Driver Models. By using an Asset Parameter node users can get values stored in the Asset Library and bring them into the Driver Model. Since Asset values cannot be changed outside the Asset Library these values will remain the same during scenario analysis.
Click here to learn more about the Asset Library.
To set up an Asset Parameter node we should first have an Asset to link to the node. Once you have this Asset you can link it to the Asset Parameter node.
To do this:
- Drag an Asset Parameter node
 onto the workspace.
Info
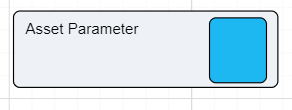
The Asset Parameter node will appear blank (see screenshot below) until an Asset is selected.


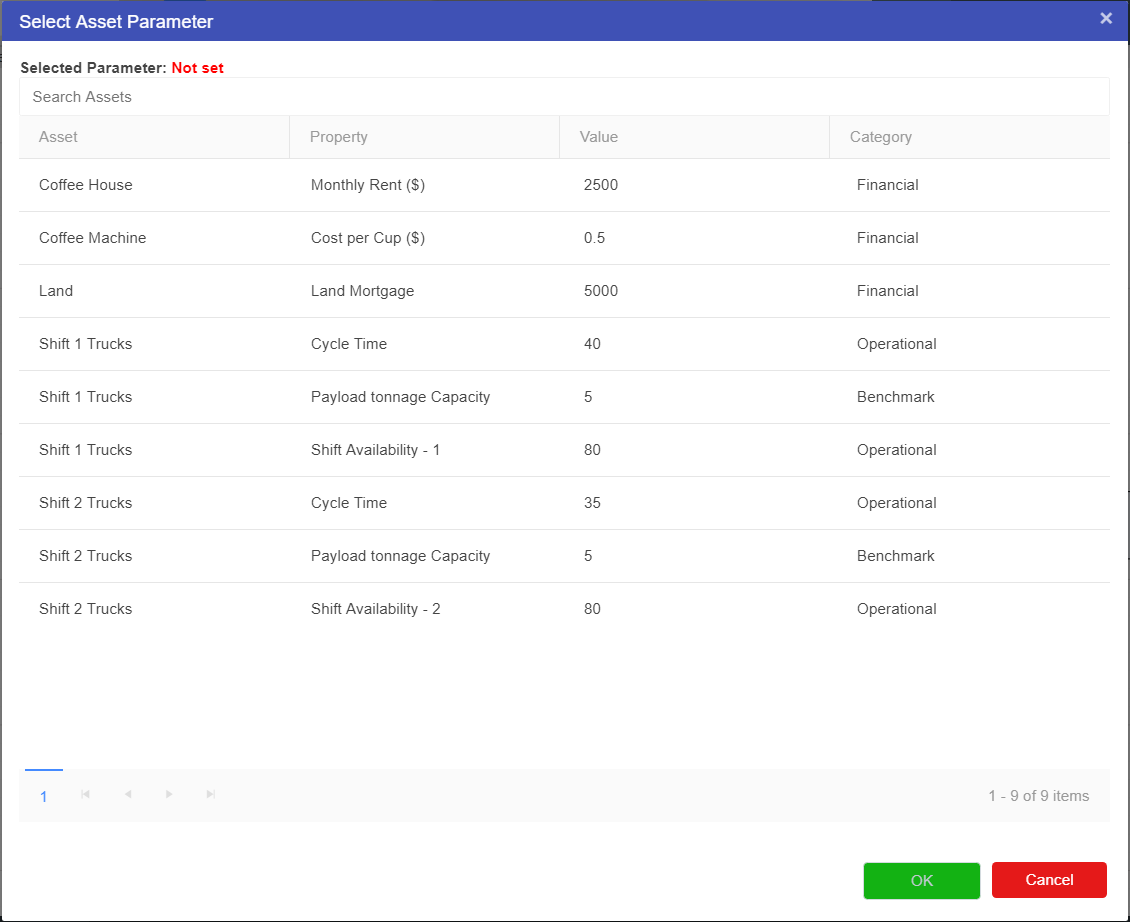
- Once you have placed the node a window will appear with a list of your Assets that have values attached to them.


- Select the desired Asset.
- Select Okay.
- The node will take on the name of the Asset and display the value of that Asset.
You now have an Asset Parameter node.
Although asset parameter nodes cannot be changed from the driver model, they can be converted into Scenario Input parameters to see the effects of changing the value throughout the model. The best practice for this is to leave the asset parameter as is in the “base” scenario, then cloning the scenario and converting the node to a numeric, as shown in Changing Node Types.
Warning
Remember you cannot edit an Asset value outside of the Asset Library. If you do wish to edit the value of an Asset you will have to go to the Asset Library. Editing the value in the Asset Library will change the value for every model using this value.