Asset Attributes
Every Asset template has a set of properties attached to it. For example a truck asset will have a specific set of properties attached to it which will differ from those of a cost or conveyor asset.
Each template has a selection of data points surrounding each Asset. These are called attributes. These attributes are only suggestions and each point does not need to be filled in for models to run. Models that do draw information from the Asset Library will only take the asset information available to it.
Note
If a model is run that does require specific information from the Asset Library and it does not exist within the Asset, the model will leave that piece of information blank. If the information is required by the model an error will be returned when the model is run asking users to enter the required information.
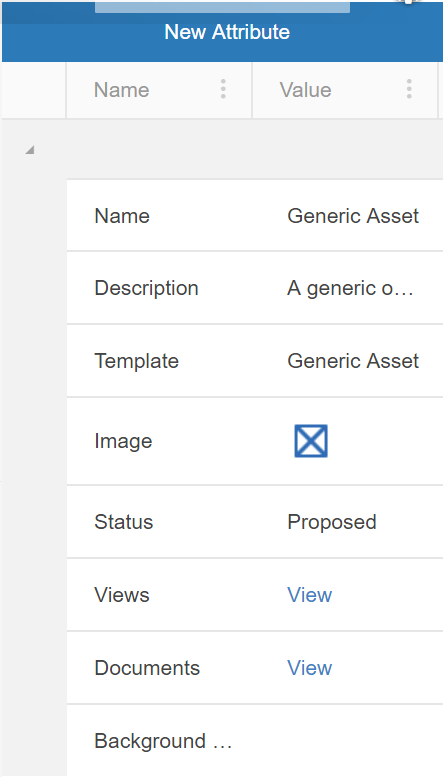
However, templates do not always have all the needed attributes for a particular Asset. Sometimes Attributes will have to be created in order to add extra information regarding the Asset. These can be added by simply hitting the “New Attribute” button in the configuration pane of a selected asset. Once an attribute has been created, either through the template or manually through the asset, selecting the asset will bring up a properties pane allowing the user to edit the value.
Note
If no value is set for an attribute then that attribute will not appear in the Driver Model asset parameter node menu.
Categories
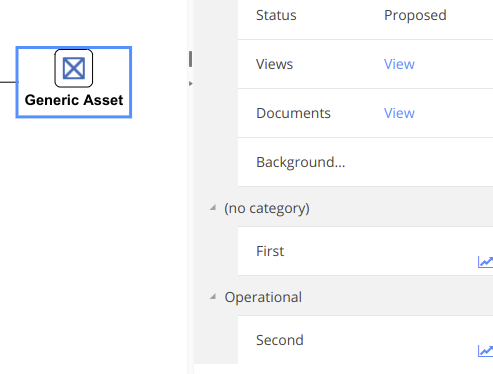
There are several default categories available - each attribute must be allocated to one category:
- (no category)
- Benchmark;
- Financial;
- General;
- Life Cycle;
- Operational;
- People; and
- Policies.
New categories can be added in the Asset Templates screen, under the “Categories” tab.
When a new attribute is created it will appear under the appropriate category in the configuration pane of a selected asset
Assumptions
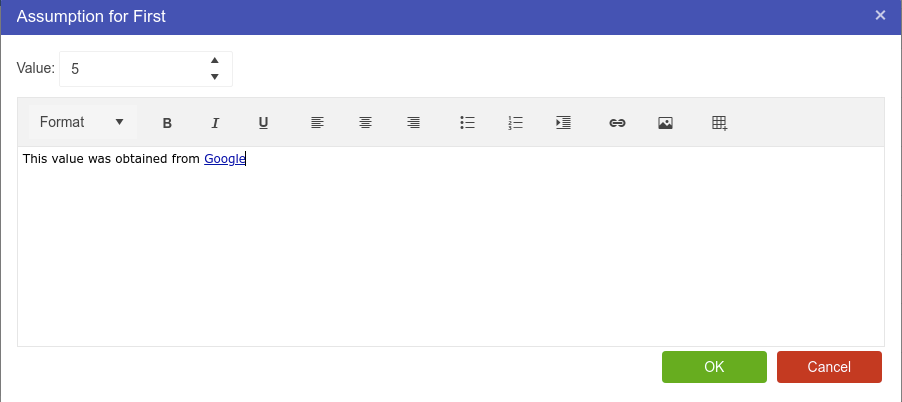
Any asset attribute can have an assumption entered against that attribute. Simply Right Click the attribute, and hit the Assumptions button. A popup window will appear allow you to enter some rich text about the attribute.
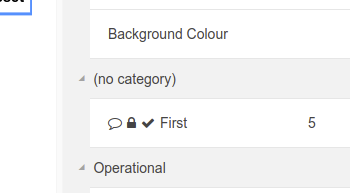
Once the record is saved, a comment icon will appear next to the attribute in the properties grid.
Approvals
Attributes can be marked as approved by right clicking and hitting the approve button. Once approved, a check icon appears next to the attribute, as well as a tooltip indicating the approver’s details. To remove the approval, simply alter the value.
Attribute Locking
Attributes can also be locked such that they cannot be edited. Similar to approvals, right click an attribute to lock it. A padlock will appear next to the attribute, and prevent editing. Note that this is different from security, as attributes can also be unlocked by right clicking.
The primary use case for this functionality is if you have a model that calculates an asset value, or populates it from an external source, you do not generally want users modifying this value. An API call can lock the parameter, but it also does not adhere to the same restrictions the user interface has in regards to locking (ie the value can be edited programmatically, just not through the user interface).


