View Types
There are four types of Views you can create:
- A Hierarchy View;
- A Force View;
- A Flow View; and
- A URL based view
The Hierarchy View
This view is exactly like your original Master View. The Master View shows all of the Assets in the Asset Library in the form of a hierarchy tree. Although similar to the Master View, the hierarchy view allows users to choose specific branches of the Master Tree they want to view. This is especially useful when setting up permissions as part of our recommended Best Practices for Akumen.
Hierarchy Views isolate user defined branches and when users select that view they will only be able to see that particular branch.
To create a Hierarchy View:
- Create a new View.
- Right click on the new view and select Properties.
- Make sure the View type says Hierarchy.
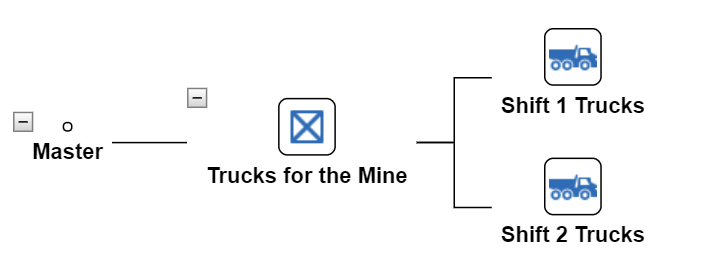
Hierarchy Views can be created from scratch by dragging and dropping assets from the Assets palette on the left of screen, or an asset can be set as a parent, in effect linking the current view to a section of the Master View.
To link a view to an asset in the Master view:
- Click Not Linked in the Properties panel.


- A pop up will appear asking which Asset the View should be linked to.
- Select the Asset you want to link the View too.
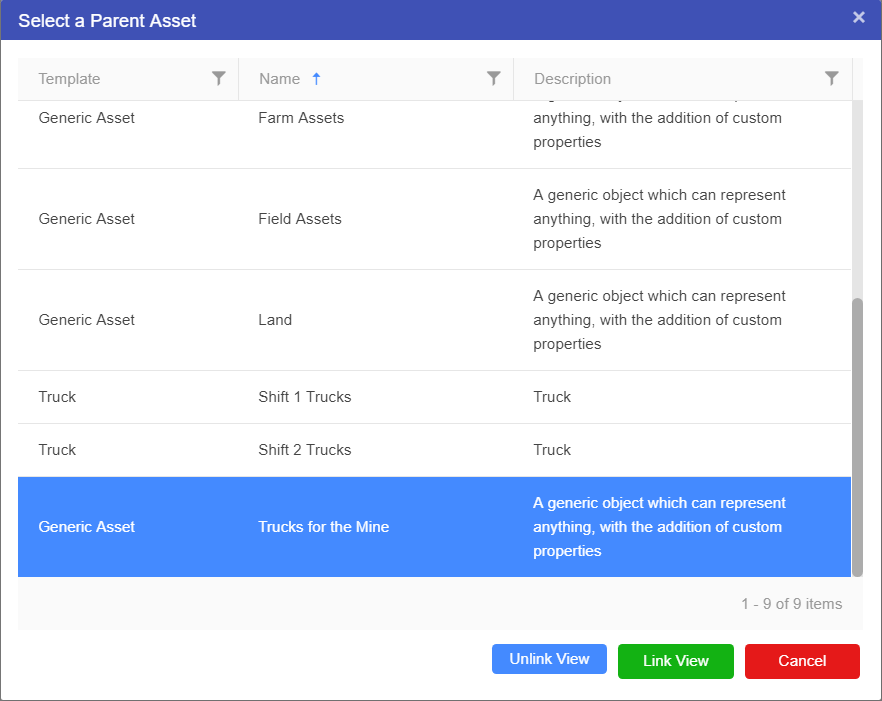

- Then press the green Link View button.
- The view will update showing the linked Asset and all over Asset linked to the one selected.
The Force View
Is a way of representing data in the form of a network, similar to a mind map.
Flow Views
A Flow View allows users to create a flow diagram linking assets together. This is most useful when trying to model supply chains or logistics flows. Unlike Hierarchy Views Flow views are not linked on one specific asset of a branch. Users can draw on assets from all over the Master Tree to create their flow.
To create a Flow View:
- Create a New View.
- Right click on the new view and select Properties.
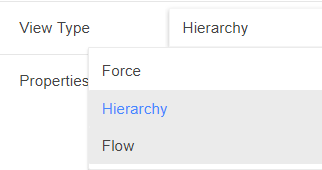
- Click on the View type Hierarchy.
- A drop down menu will appear.
- Select Flow.

- The screen with change to a grid and the tabs on the left pane will also change.
- Select the Assets Tab on the control panel.
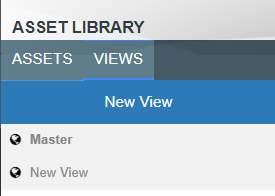

- Find the Assets you want for your Flow View.
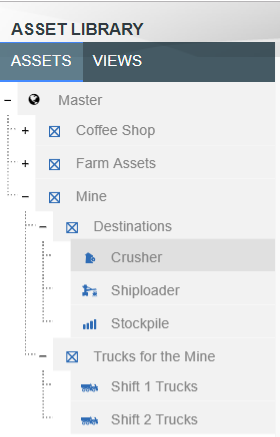

- Select the Assets and drag them onto the Flow Grid.
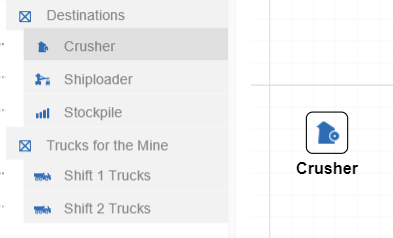

- Once you have selected and Placed your Assets you can Connect them.
- Hover over the Asset.
- Select an arrow and drag it to the Asset to connect them.
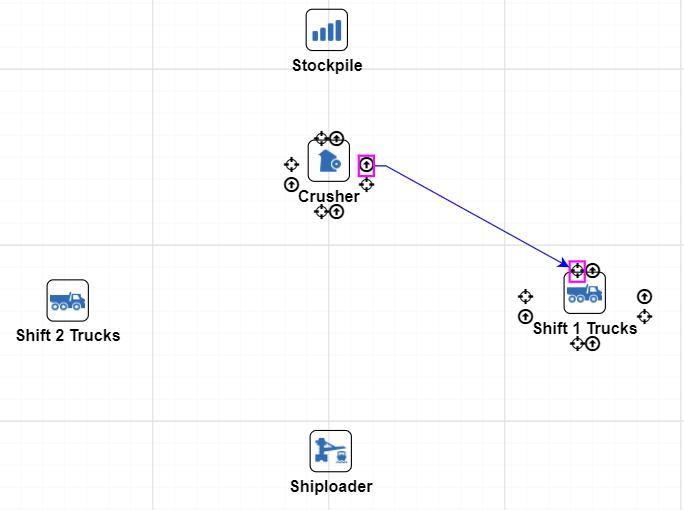

- Whichever way the arrow is pointing is the way the flow will go.

