Azure Setup
Azure setup involves logging into Azure, accessing Azure Active Directory, then App Registrations.
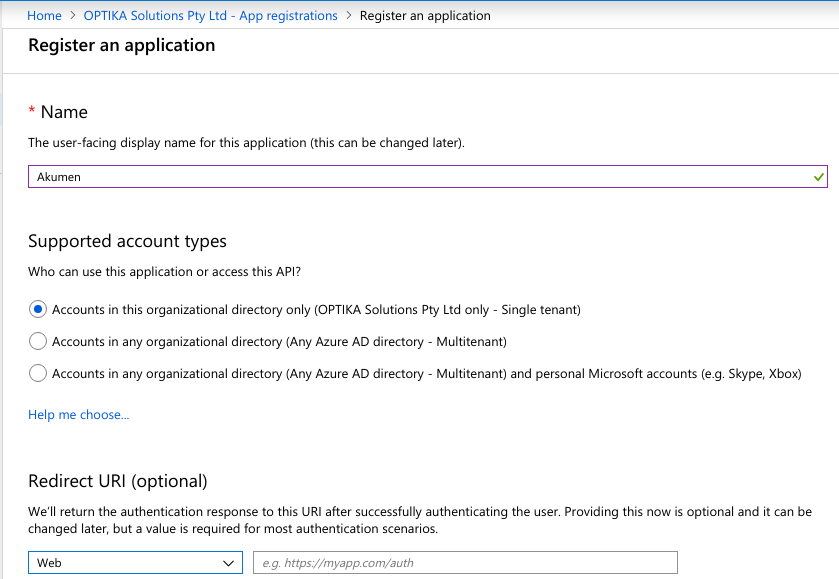
- Register a new application, and enter the name for the application. Note that one of the redirect URIs can be entered at this point, or after registration. We’ll do this after registration.


- Click on the newly registered application to edit the application.
Note that the “Application (client) ID” is visible at the top of the screen - this needs to copied and pasted into “Client Id” in the Authentication Settings in Akumen.
Also, “Authority URL” in Authentication Settings should be set to
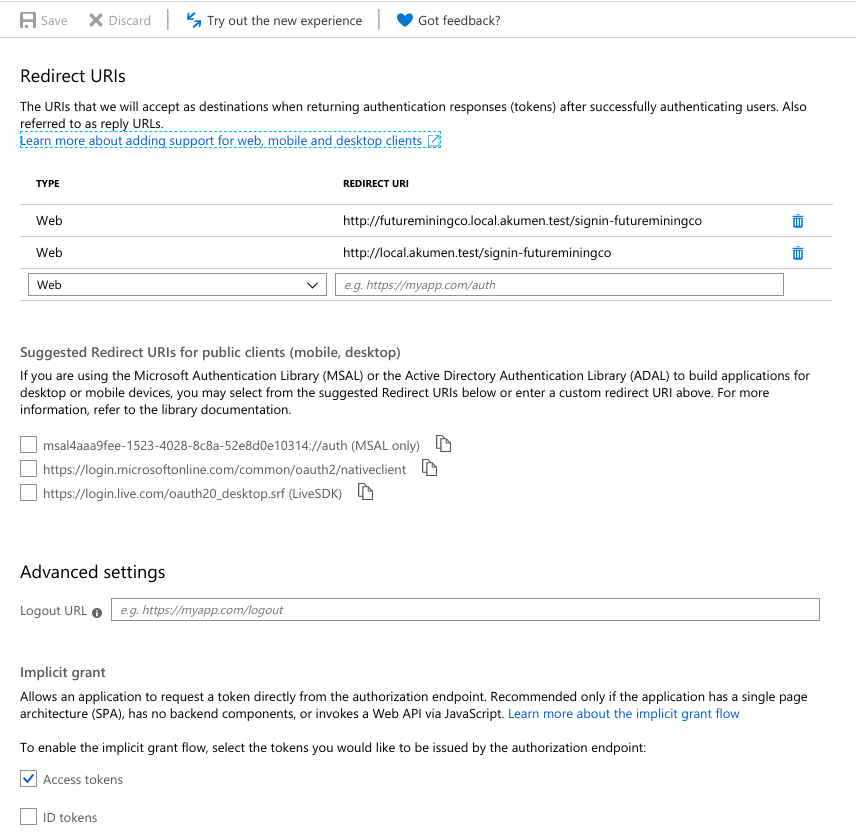
https://login.microsoftonline.com/, followed by the “Directory (tenant) ID” from Azure. - Click on Authentication, then click the “Add a platform” button, then choose “Web”. The redirect urls from Akumen need to be entered here. Also ensure that the Access Tokens check box is checked.


- Click on Certificates and Secrets, and create a new Client Secret, and paste into Akumen.
Group-based Role Membership
To configure Azure AD to pass AD group memberships as claims to Akumen, edit the manifest and replace "groupMembershipClaims": null, with "groupMembershipClaims": "SecurityGroup",.
To map each AD group to an Akumen role, copy that group’s Object Id from the Groups section of Azure Active Directory, then enter that Object Id as the Auth Group Name of the matching Akumen role.